
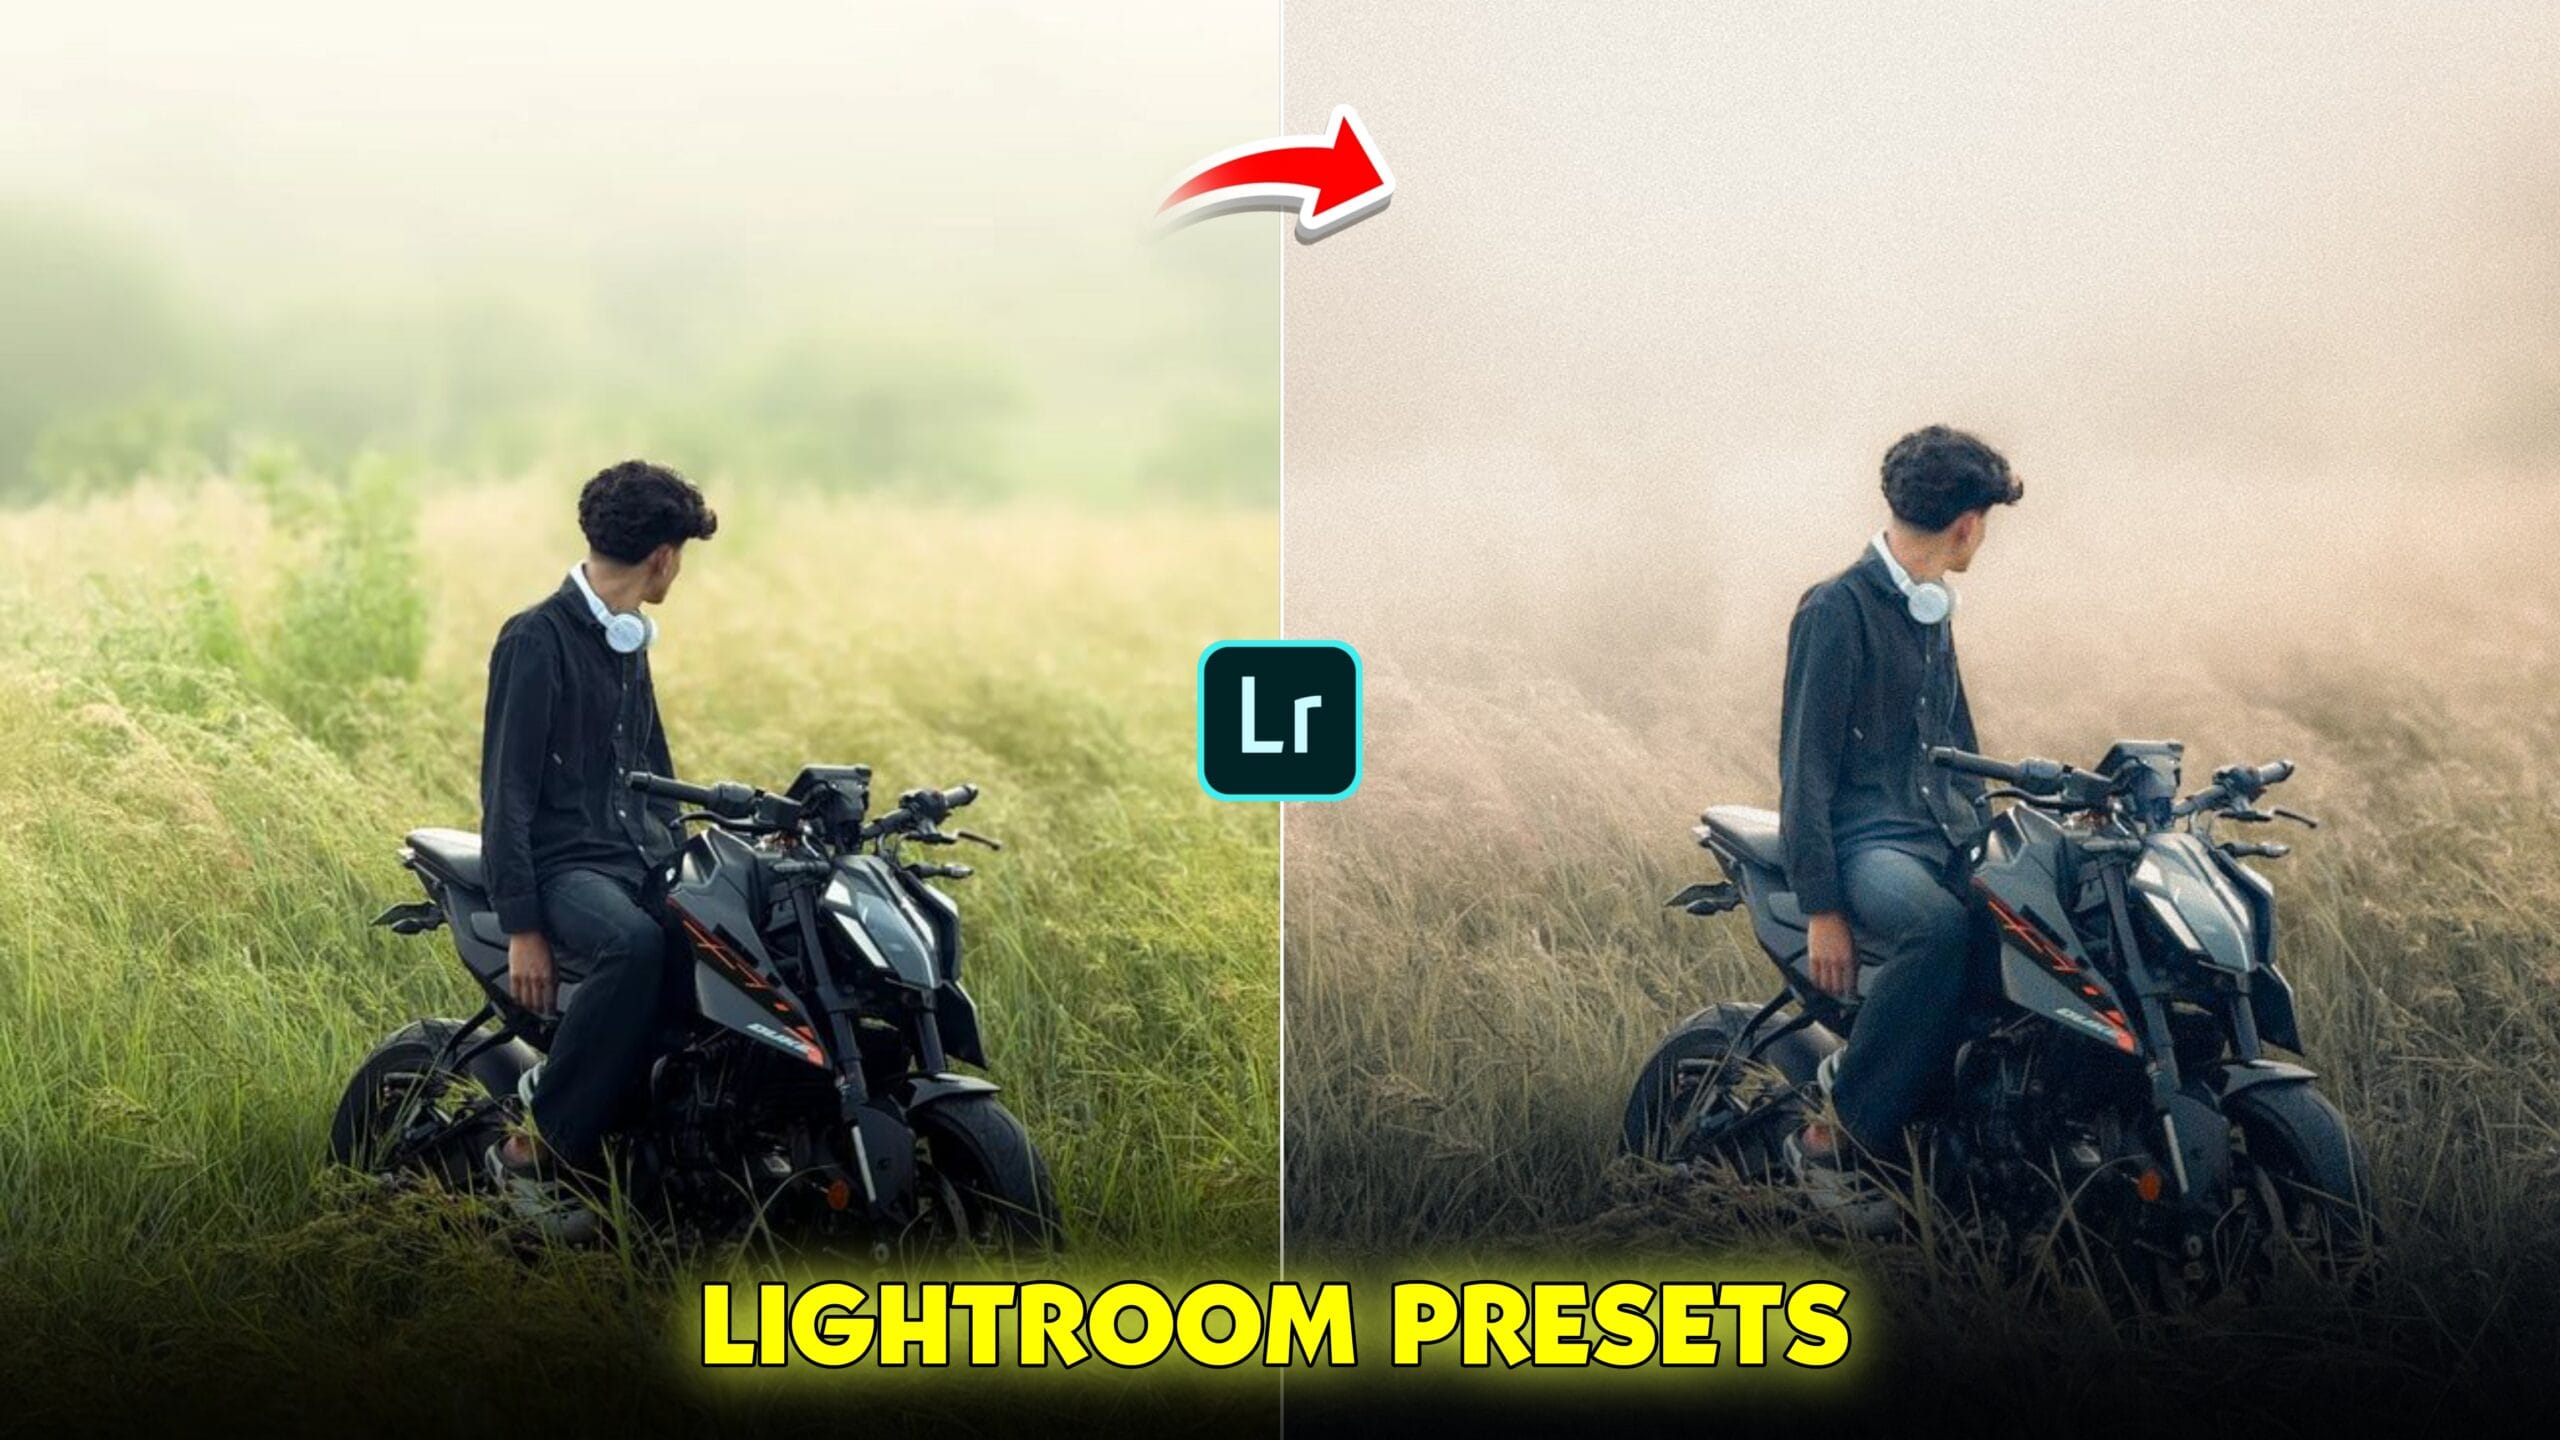
Cinematic Yellow Tone Lightroom Photo Editing Presets-I had a boring photo and I was thinking of deleting the photo. Then I thought of importing it into the Lightroom app and editing it a little. After importing it into the Lightroom app. I noticed the photo well to see what type of color grading I needed to do. The photo was of me sitting on a bike. You could say it was a traveling photo. Now I saw the photo and thought that I would convert it to a cinematic yellow tone. And I started editing. Then after finishing the editing, I saw that it was very beautifully edited. And I thought why not upload it to my website. So that you can upload my cinematic yellow tone to your photos. Today in this article, I will teach you cinematic yellow tone photo editing. Using which you can convert a boring photo into a beautiful photo like mine. If you want to add a Chinese yellow tone to your photos. Don’t forget to watch this post till the end.
Cinematic Yellow Tone Lightroom Photo Editing Presets
I am posting a series of lightroom where I will teach you many types of lightroom photo editing. Here you can convert a normal photo into a cinematic photo. In this article I will teach you how to add yellow color tone. In this way you will see more posts on other color grading. When you visit my website and click on the lightroom presets category, you will see all the editing presets of Lightroom. You can use these presets to add presets to your photos with just one click. You don’t have to edit manually, you can do photo color grading by copying and pasting. And if you want to increase your editing skills, then you can follow my manual editing steps which I have explained below one by one step.
How To Use Cinematic Yellow Tone Lightroom Photo Presets ?
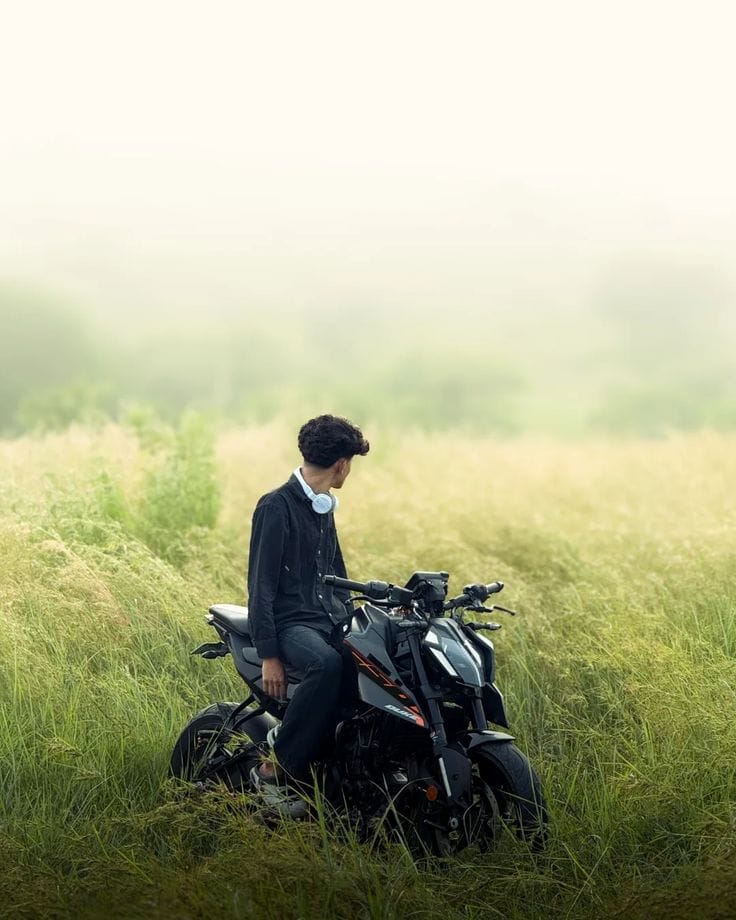
Now let me tell you how you will use the presets I have given you, you can use the presets on both PC and mobile. First of all, you will download the Lightroom app. After downloading the Lightroom app, you will have to download the presets that I have given you. Now you have to see what kind of photo you want to edit first. If you want, you can edit a travel photo, that will be the best. Do not edit such a photo where the photo is half visible or you are indoors and use Lightroom presets on that photo. You can go outside and shoot a photo where there will be some environment like sky, trees, flowers, etc.
Now upload the photo of your model to the Lightroom app. Then upload the presets I have given you. Now open the presets and copy the settings. Then open your photo, click on the three dot e, click on paste setting. Wait for a while, then the Lightroom presets will be added to your photo with the same color. Now you can adjust the light a little because your photo will not be the same as my photo. Once the presets are added to the photo, download it by clicking on Export at the bottom.
DOWNLOUD PRESETS
How To Edit Cinematic Yellow Tone Photo Using Lightroom App?
First of all, we need to open the Lightroom app and import the photo. Click on the Add photo option and select the photo, and your photo will be added. Now, first of all, we need to adjust the light of the photo, for this we need to click on the adjust option and click on the light option. Here I am showing you some settings that I have applied to my photo.
- LIGHT ADJUSTMENT
EXPOSURE : +0.13
CONTRAST : +12
HIGH LIGHTS : -27
SHADOW : +23
WHITES : -31
BLACK : +17
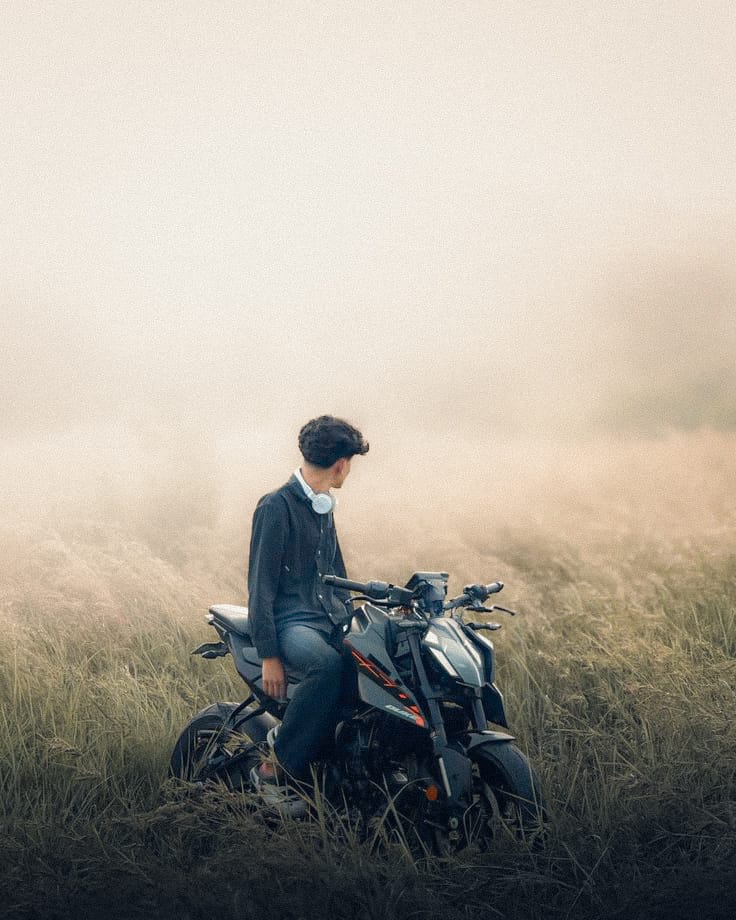
I have done the light adjustment that was to be done in the photo. Now you will see how I will add a cinematic yellow colour tone. To do colour grading, click on the colour at the bottom. And here you will get all the colour grading tools.
Colour Grading Your Photo
TEMP : +2
TINT : +2
VIBRANCE : +10
SATURATION : -4
Once we have done this, we will lighten the photo color and make it a high light. Now we have to follow these steps very well because here we have the best settings for color grading. Now we will use the photo hsl color tools. To fix the skin tone, you will use the orange color. And to change the color of the background, you will use the yellow, green color. Here you will see 3 lines, hue, saturation, luminance, you will have to adjust these settings more or less and adjust the color. Since you will add a yellow color tone, try to use the yellow, green color well.
Now we will use the masking tools to give the photo a cinematic look. Click on the masking option. Then click on the plus option e and click on the LINEr gardening option and adjust it well by looking down and creating a shadow with it. We will have to reduce the exposure of this one so that a black shadow comes. We will create another one in the same way and adjust it by looking up and making it look cinematic. After adjusting this, we have to increase the exposure so that a white shadow comes. After doing this, it will be done. Now export the photo and save it.
Conclusion
Before manually grading a photo with Lightroom, there are some things to keep in mind. The photo I will edit is not the same as mine if you apply sem Edit tricks and tips. Your photo and mine will not be sem, so you will see a little difference. You will have to apply the photo as your own photo, photo light, colour, . I have given you the presets. You can get them on Telegram, if you click on my link. Telegram will open, you will get them there. And if you edit manually, you can manually edit and add yellow colour tone to the photo with the editing steps I have given. To make the photo cinematic, the mask tools in Lightroom help a lot. See if your Lightroom mask tools are working first. And if they do not work, update the Lightroom app. If you are a traveler and want to create such photos, then create such a yellow tone photo.